Hey! Im Haylee and I blog over at Dare to be Glamorous. Im super excited to be guest posting for The Teen Fashion Blogger! Hope you like the post (comment and let me know what you think). Also, id really appreciate it if you would head over to my blog and follow after reading this!
I got the BedHead Wave Artist a couple weeks ago and Ive used it a few times and love it! So, when Carissa emailed me and asked me to guest post I knew that this is what i wanted to post about. I guess I'll just skip to the point and tell you how to use it :)
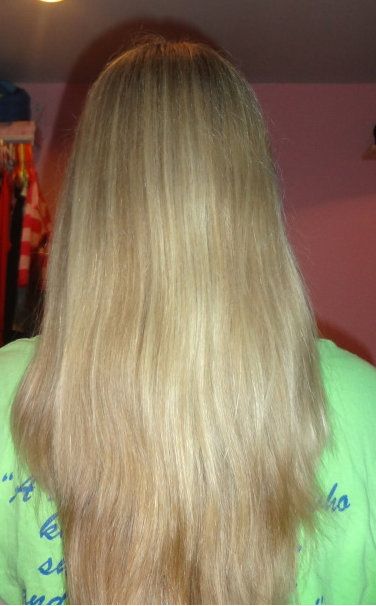
A "Before" pic so you can see how naturally straight my hair is
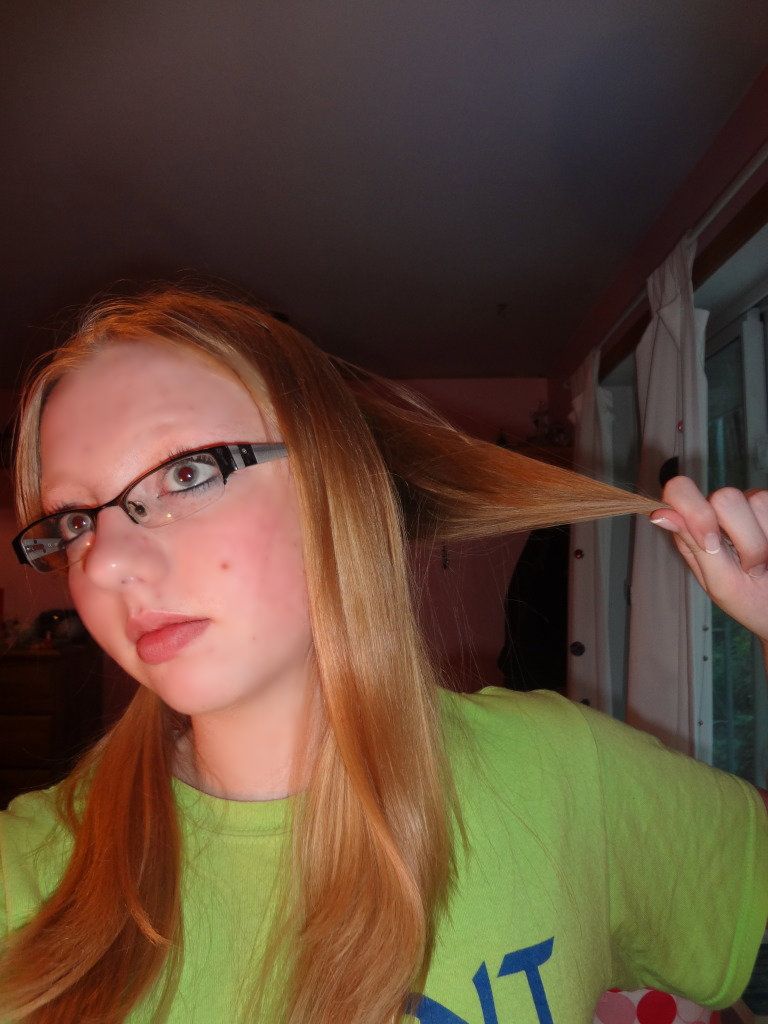
Before you begin make sure your hair is completely dry. If its not it wont hold the waves. Then spray in a heat protectant (i use Suave) to avoid frying your hair. If your hair doesnt hold a style and usually falls flat you can work some mousse through and that should help.
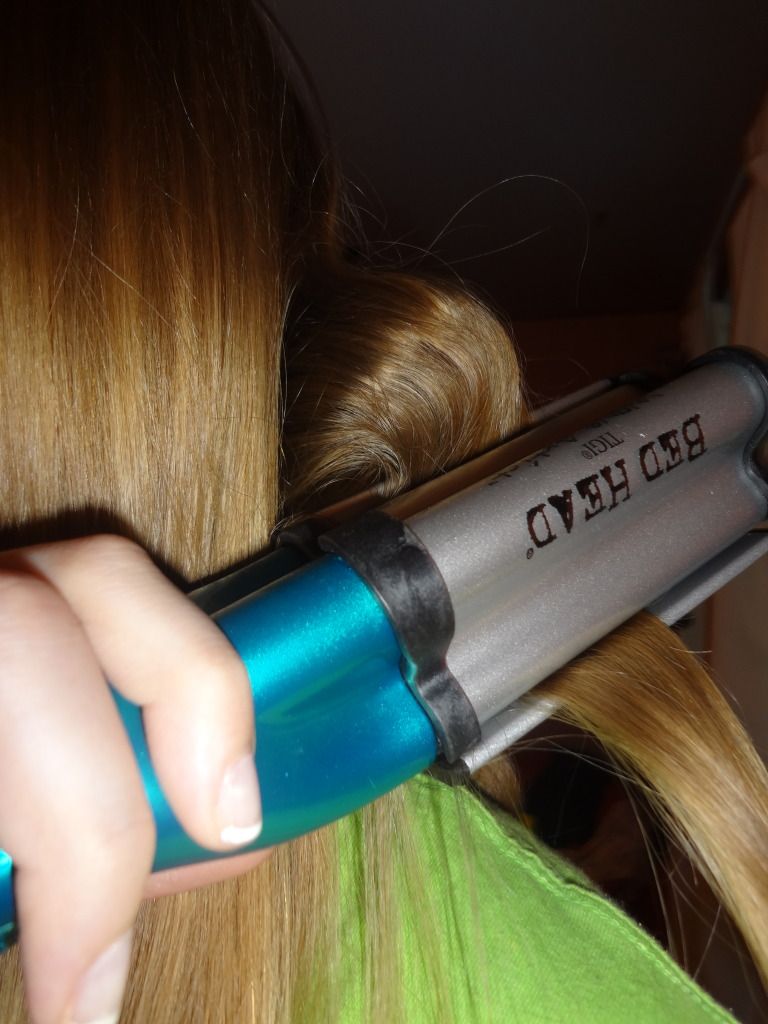
Now to begin the actual waving process- Start a few inches from your roots and clamp the waver onto a small section of hair (see pic below). Hold for 5-10 seconds depending on hair type.
Unclamp the waver them move it down to where the last wave ends (the edge of the wave artist should be right at the end of the previous wave) Repeat the process until you get to the end of the piece of hair then move onto a new piece.

Continue until you have all of your hair done (Tip: start with the back of your hair and work forward, putting each waved section of your hair behind your shoulder to seperate it from the straight hair)
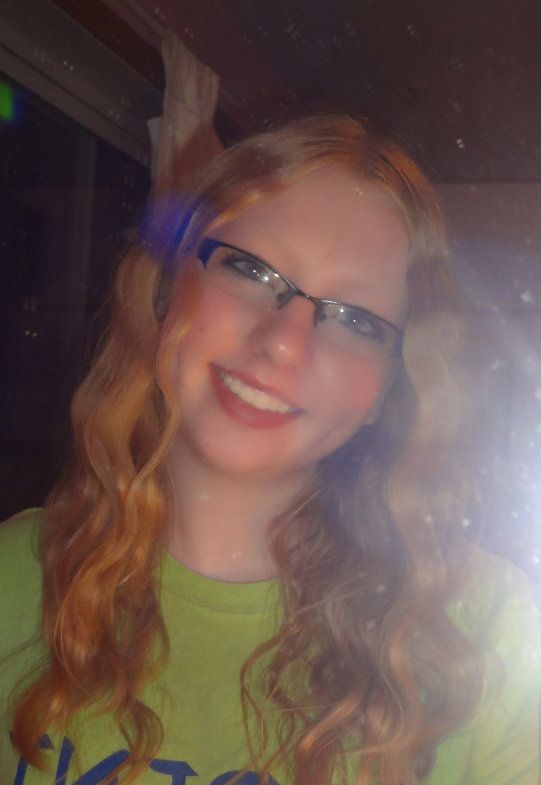
Once you have all your hair done finish with some hair spray and youve got a super cute hairstyle!